Click the Play Store icon to open the app in the Play Store. Then click "Install".
If you have opened this web page on the PC, you will be prompted to select the device on which the app should be installed. Then click on "Install" again. If you opened the page on a mobile device, the installation starts immediately.
If you've installed the app from your mobile device, the Install button's caption changes to "Open" - now click on it.
If you have installed the app via the PC, open the app drawer on your device and look for the icon of the Keyboard Designer (see picture). Now start the app.
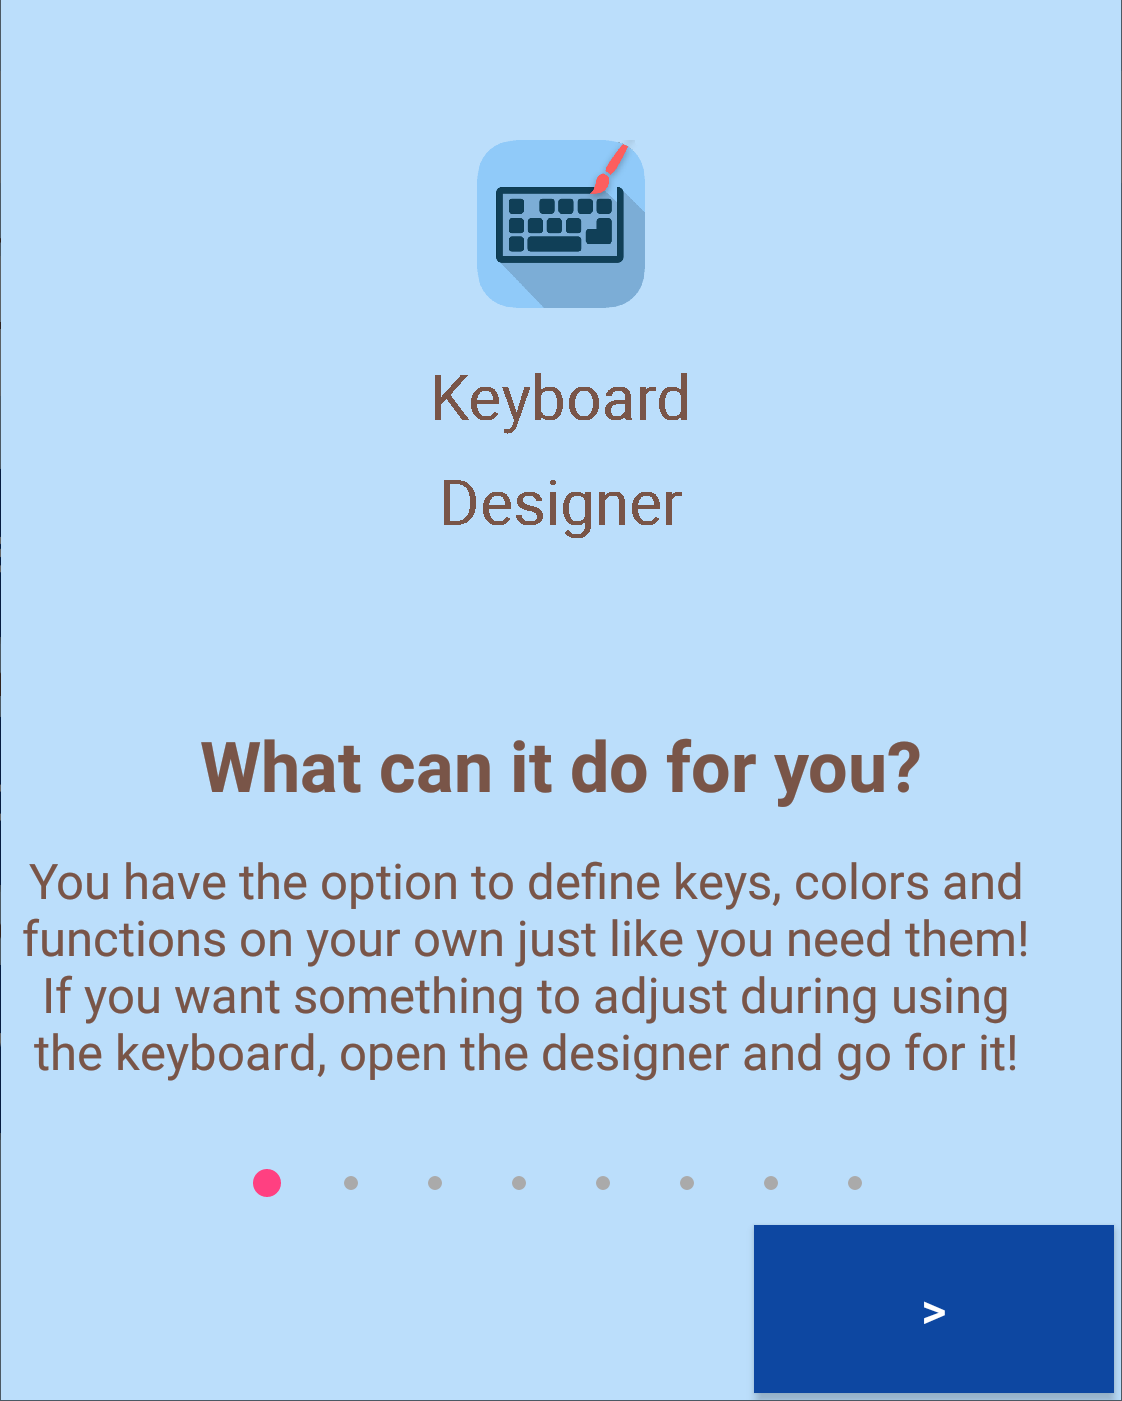
The first time you start Keyboard Designer, a wizard will appear explaining how it works. Please scroll through the pages.
On one page, you are prompted to activate the Keyboard Designer as a keyboard. Click on the button to open the settings of Android and tick the box for activation. A safety alert is displayed indicating that keyboards can collect data. This is displayed on every keyboard, no matter whether data can be sent to the Internet or not. Please confirm the dialog and click on the back button to return to the Keyboard Designer.
If you have read all the pages, close the wizard.
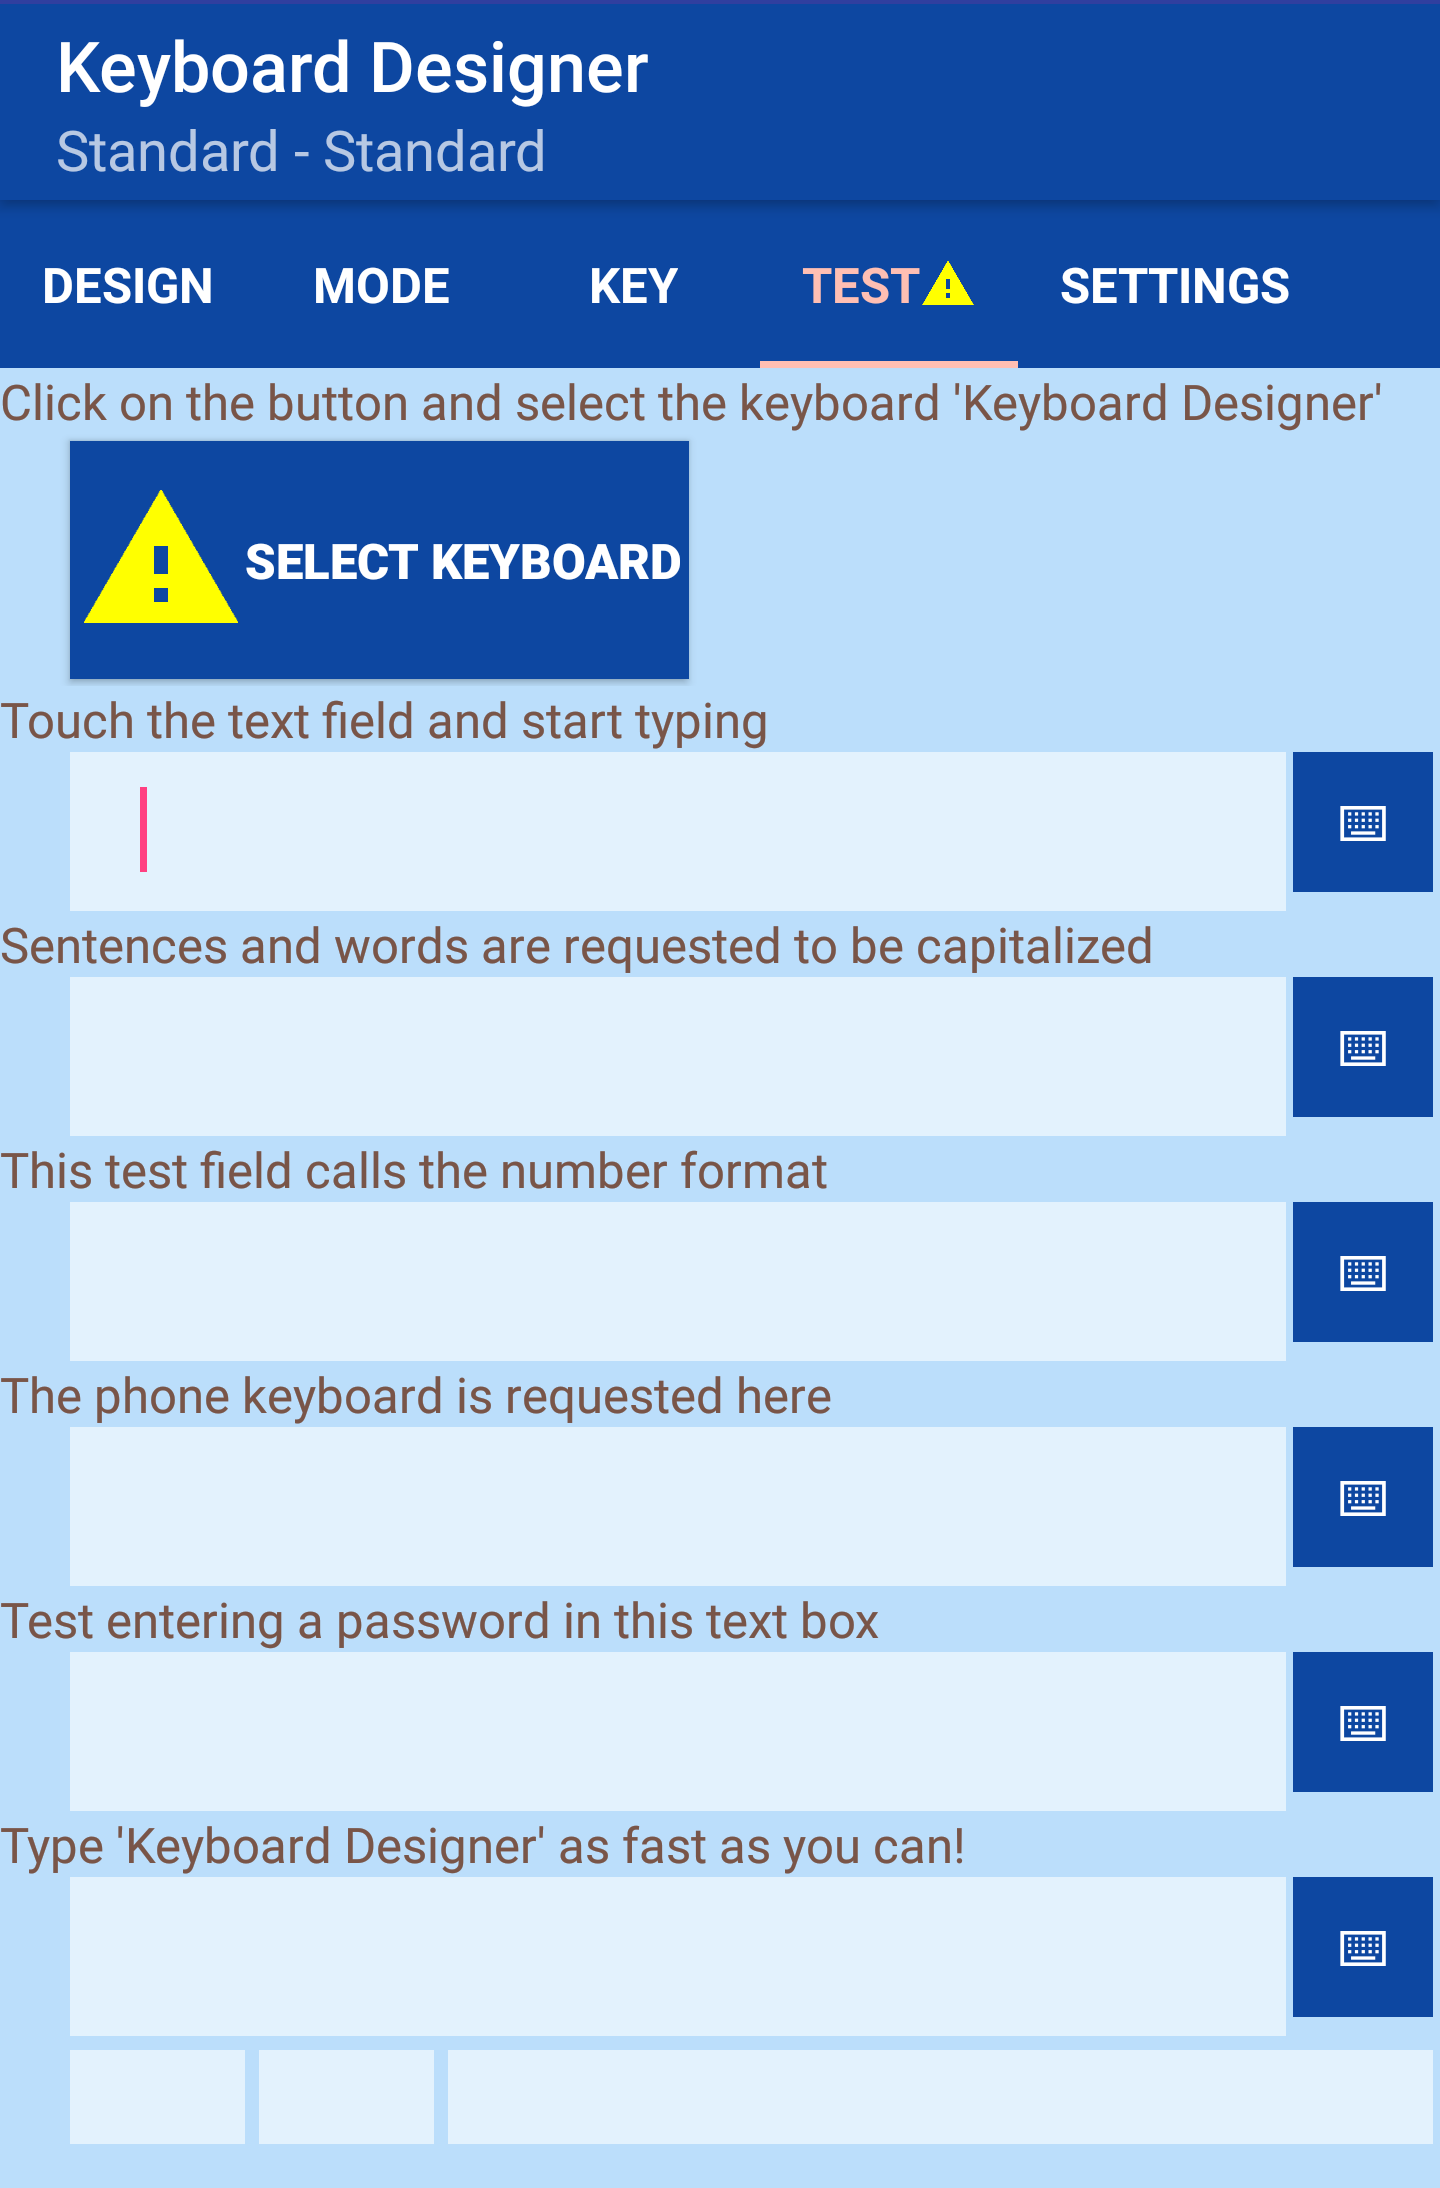
Hint: Even if you have activated the keyboard, you can not use it yet. It must also be selected in the system settings or in the Keyboard Designer. This step is deliberately not done in the Wizard, so you can use your existing keyboard while designing your own keyboard. If you still want to use it now, go to the test tab in the Keyboard Designer to select it immediately (see step 5).
The App Keyboard Designer consists of two modules: the designer, which is used to create keyboards, and the viewer, which is used to use the keyboard. The viewer will automatically start when you want to make an entry in an app and the Keyboard Designer has been activated and selected as the keyboard.
The surface of the designer is divided into three areas. In the upper area is the preview of the currently edited keyboard. In the middle area you can see the list of tabs, with which you can choose what you want to edit. In the lower area you will find the setting options.
A detailed description of the designer can be found at the menu item Design
To be able to use the keyboard, it has to be selected as described above. This can either be changed at any time in the system settings or you can switch to the test tab, click on the "Select keyboard" button and select "Keyboard Designer".
If the Keyboard Designer is the default keyboard, then the button is no longer displayed. From now on you can use the keyboard of the Keyboard Designer in all apps.
Note: If you want to switch between different keyboards of the system, you can use the keyboard button behind the field.
You can now use the example keyboards like a normal keyboard or make adjustments to your liking. Just open the designer again. You can also create completely custom designs and use them.
Have fun with the Keyboard Designer!
For more information on using the keyboards, see the keyboard topic